Starting from zero: get a WhatsApp Business number
No Facebook account, a brand-new SIM, nothing set up yet — the full path to a connected number.
- 1
1. Create your personal Facebook login
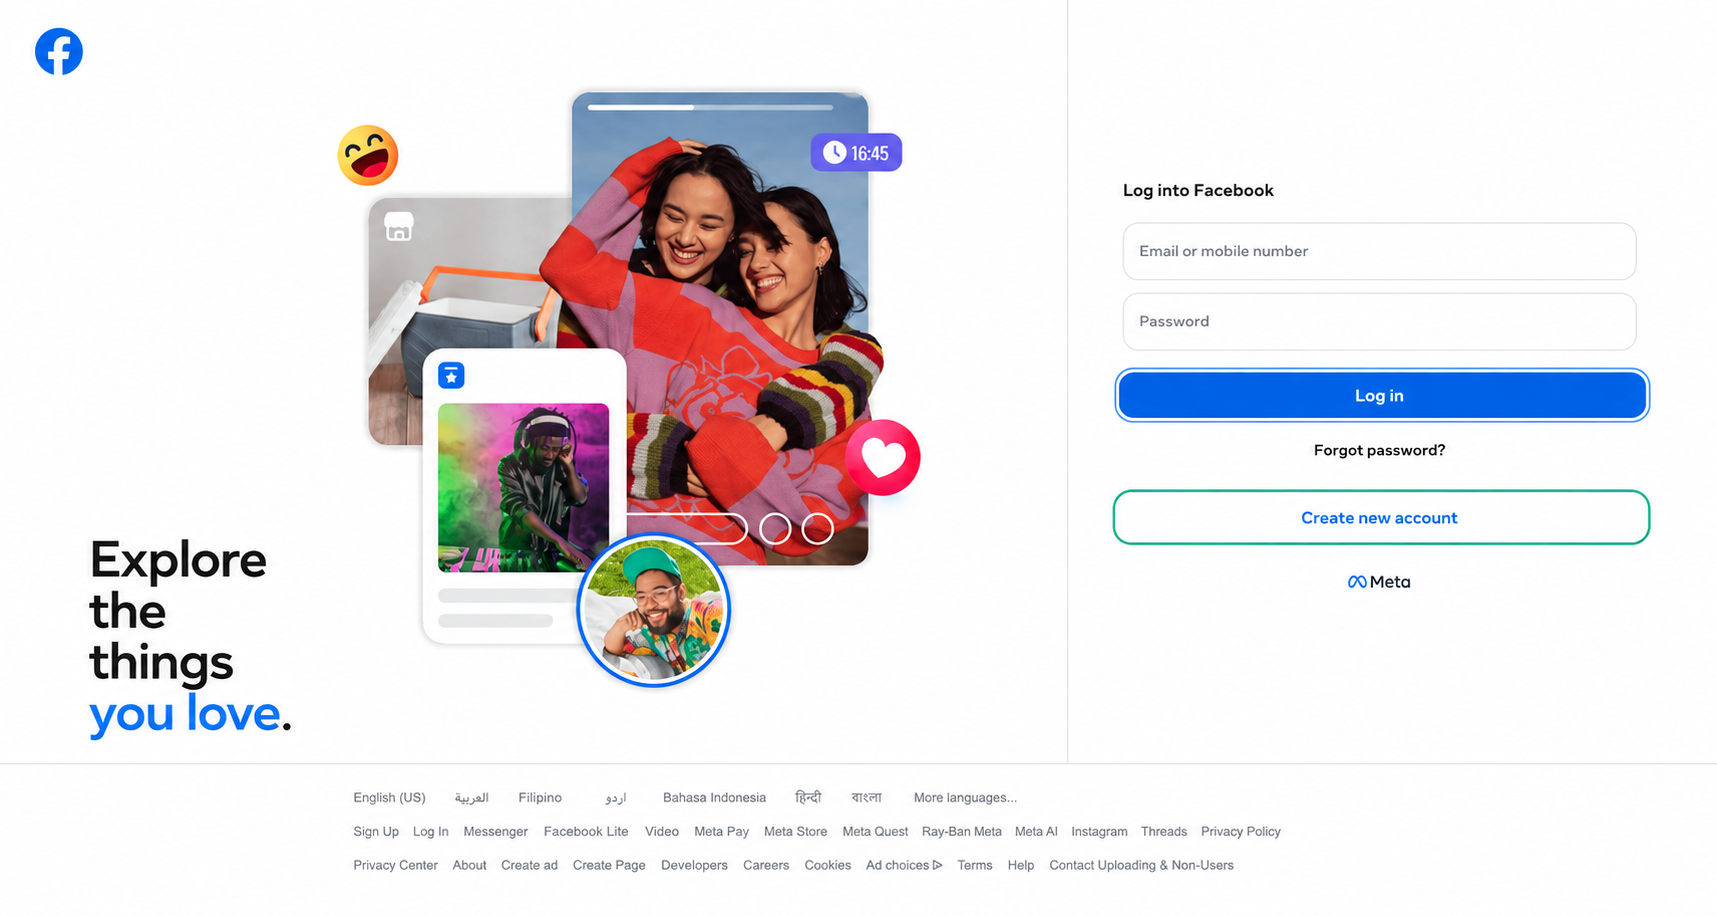
Meta's connection window uses a personal Facebook account to identify the person who owns or administers the business assets. If you do not have one, create a free Facebook account using your real name and an email address you can keep. Confirm the email and keep the login secure. You do not need a Facebook Page, posts, followers or an ad account, and your customers will not see this personal profile in WhatsApp.
- 2
2. Pick the phone number carefully
For the easiest setup, use a permanent business number that is not currently registered in WhatsApp or the WhatsApp Business app. A fresh SIM or voice eSIM is ideal. It must receive an SMS or voice call for Meta's one-time code, and you must keep access to it for future recovery. Do not use a disposable SMS website or a data-only travel eSIM. If you must keep an existing WhatsApp Business app number, contact Moyafa before changing or deleting anything; app/API coexistence is a separate migration flow and is not enabled for every account.
- 3
3. Start the connection inside Moyafa
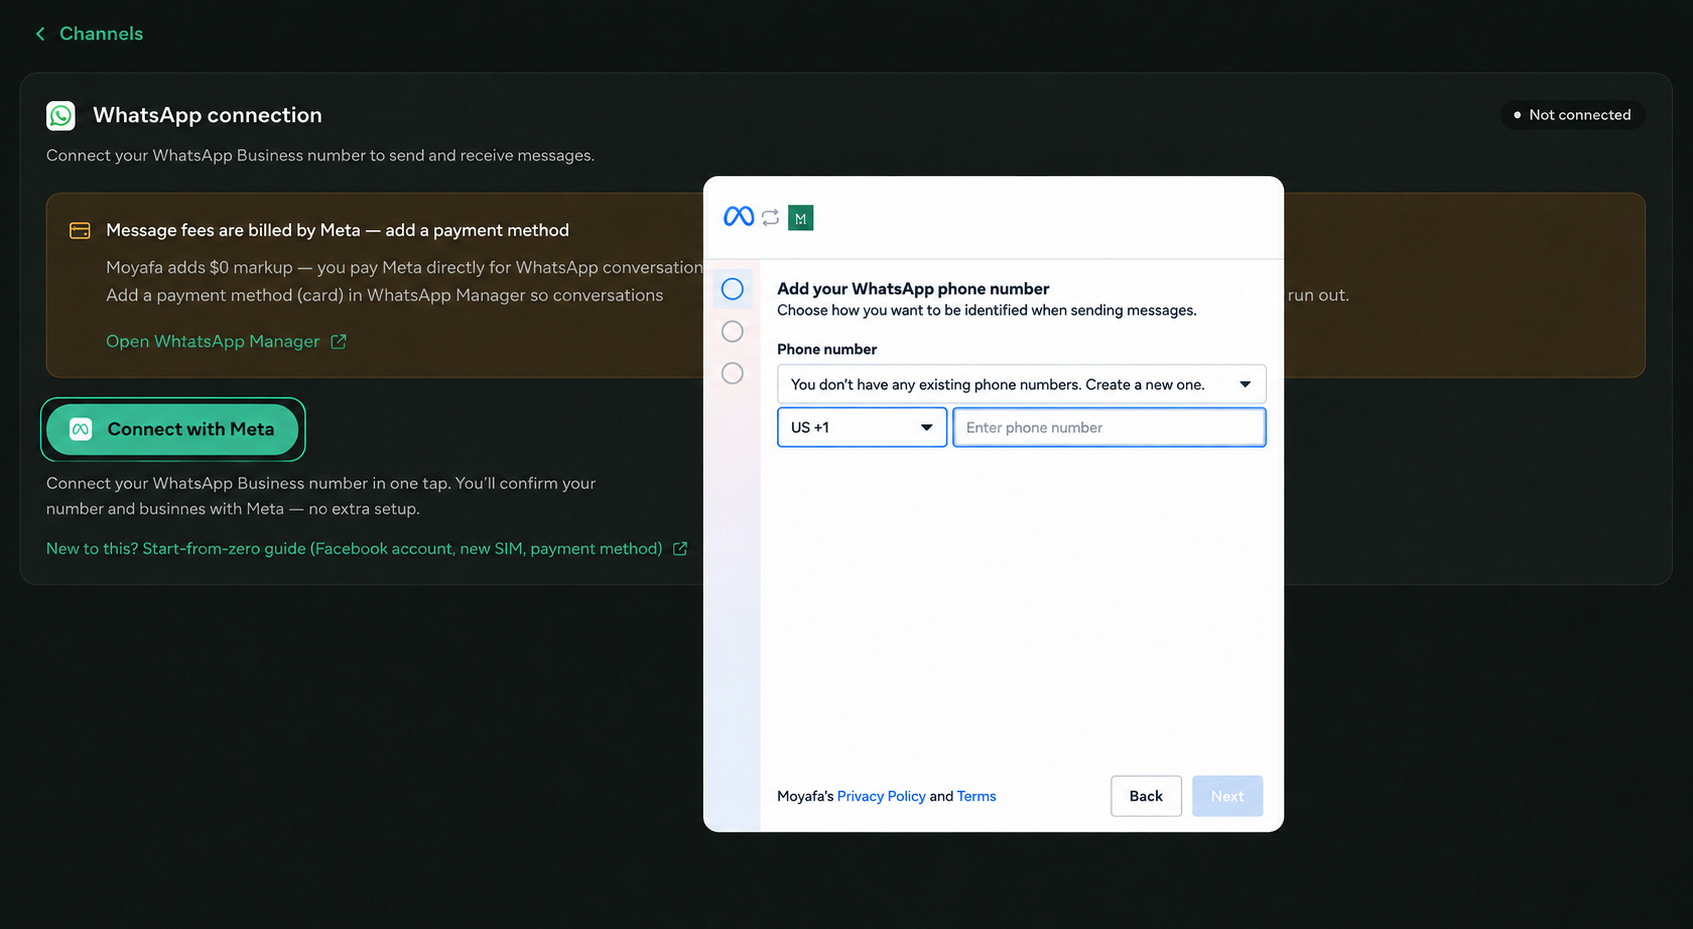
Sign in to your Moyafa workspace as its owner or an admin. Open Settings → Channels → WhatsApp and select «Connect via Meta». A Meta window opens; select «Continue» and sign in with the Facebook account from step 1. Keep pop-ups and third-party cookies allowed until the setup returns you to Moyafa.
- 4
4. Create or select the Meta business assets
Inside Meta's guided setup, create a new Business Portfolio if this is your first time, or select the correct existing one. Then create or select a WhatsApp Business Account. Enter the real business name, business email, website (when requested) and country. The labels and order can vary by account; follow the options shown in the Meta window and do not create duplicates if the correct asset already exists.
- 5
5. Add the number, display name and verification code
Choose the country code, enter the business phone number and select SMS or voice call. Enter Meta's one-time code. When Meta asks for a WhatsApp display name, use the public brand or business name customers already recognize; it must represent the business accurately and is reviewed under Meta's display-name rules. Finish the permissions screen and wait until Meta returns you to Moyafa with the number shown as connected.
- 6
6. Open Settings and find Accounts
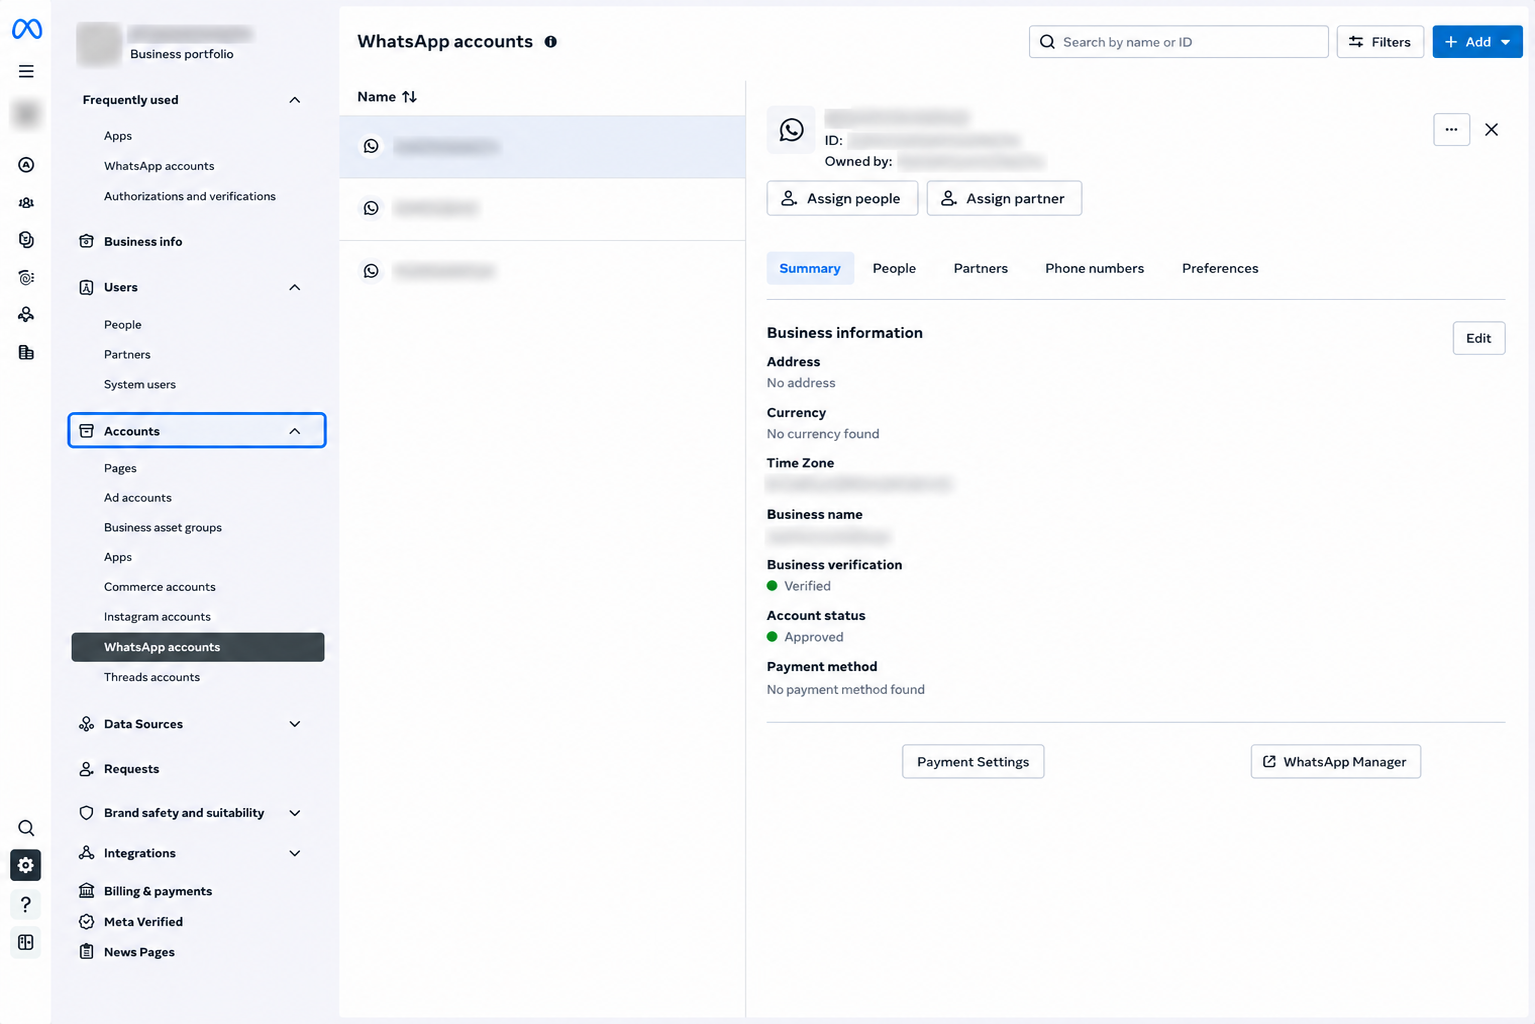
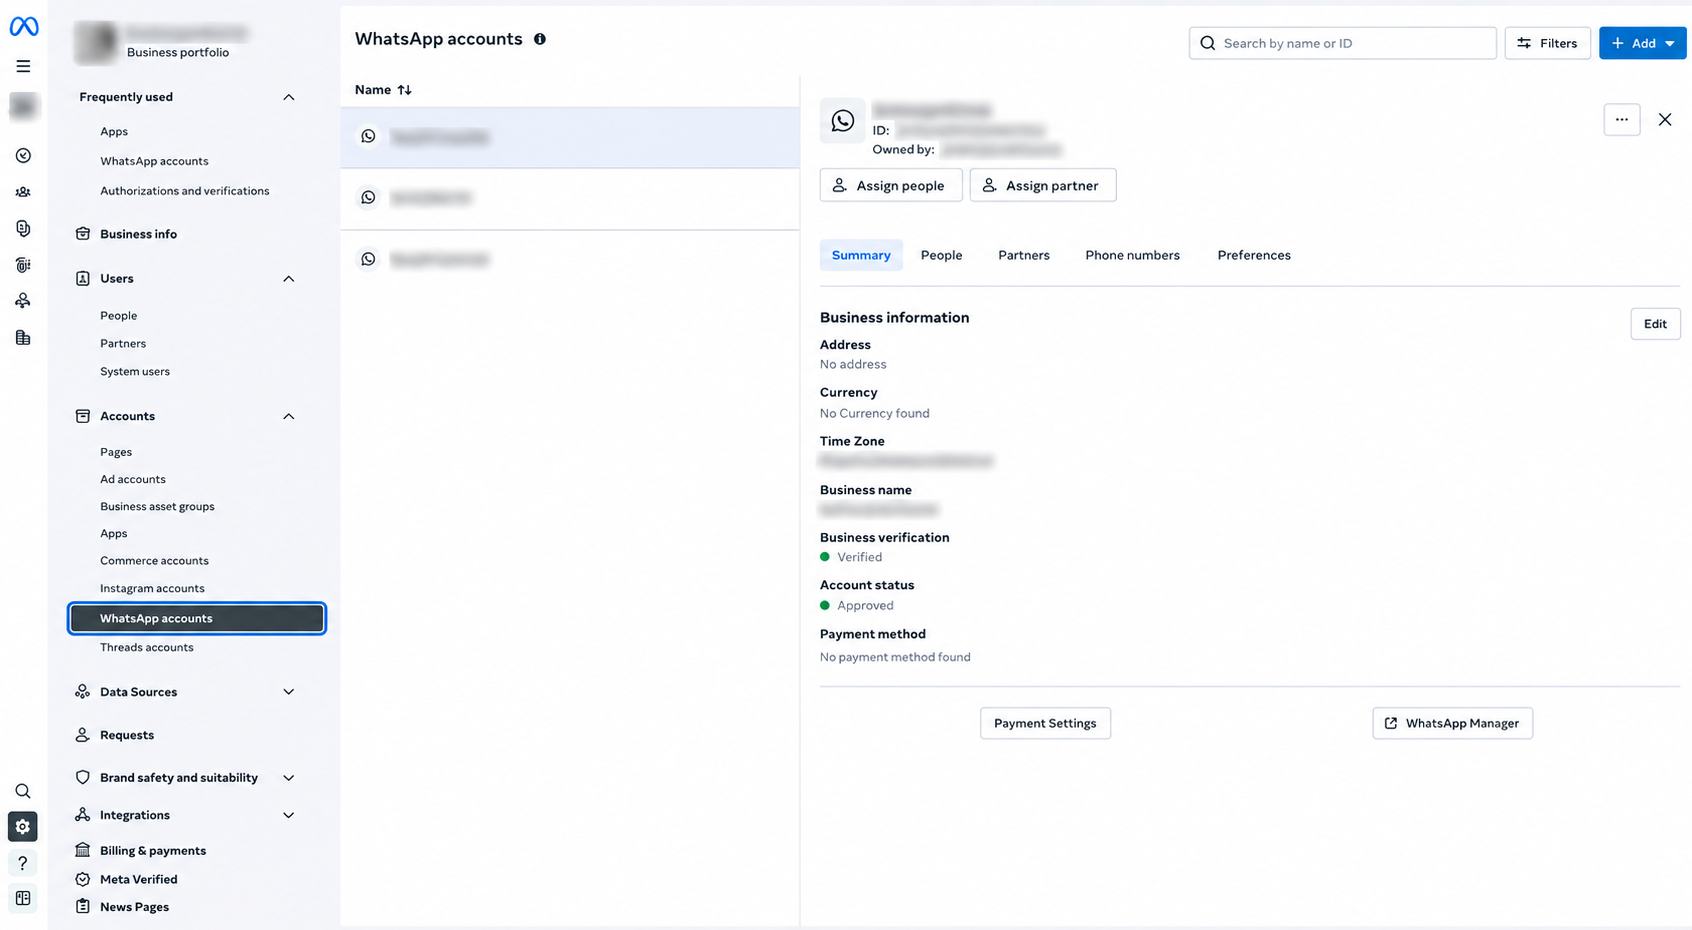
Open Meta Business Settings for the business that owns the connected WhatsApp number. In the left navigation, expand «Accounts».
- 7
7. Open WhatsApp accounts
Inside «Accounts», select «WhatsApp accounts». Meta lists every WABA available to this business portfolio.
- 8
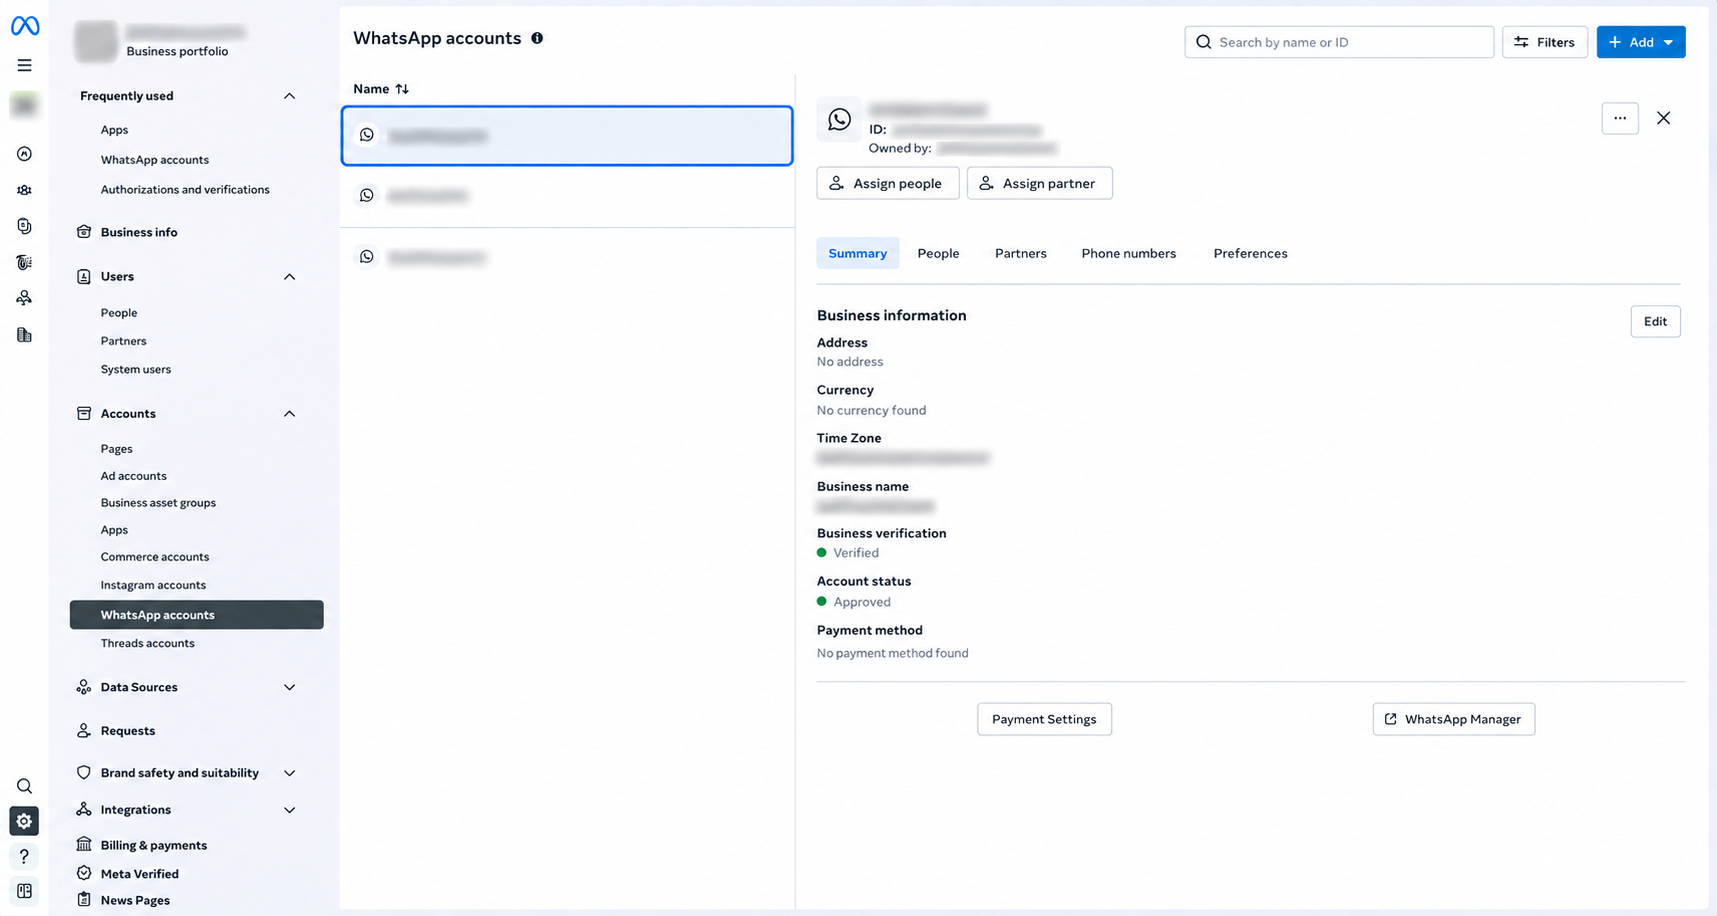
8. Select the connected WABA
Select the WhatsApp Business Account used by Moyafa. If several accounts appear, match the account to the connected business number before continuing.
- 9
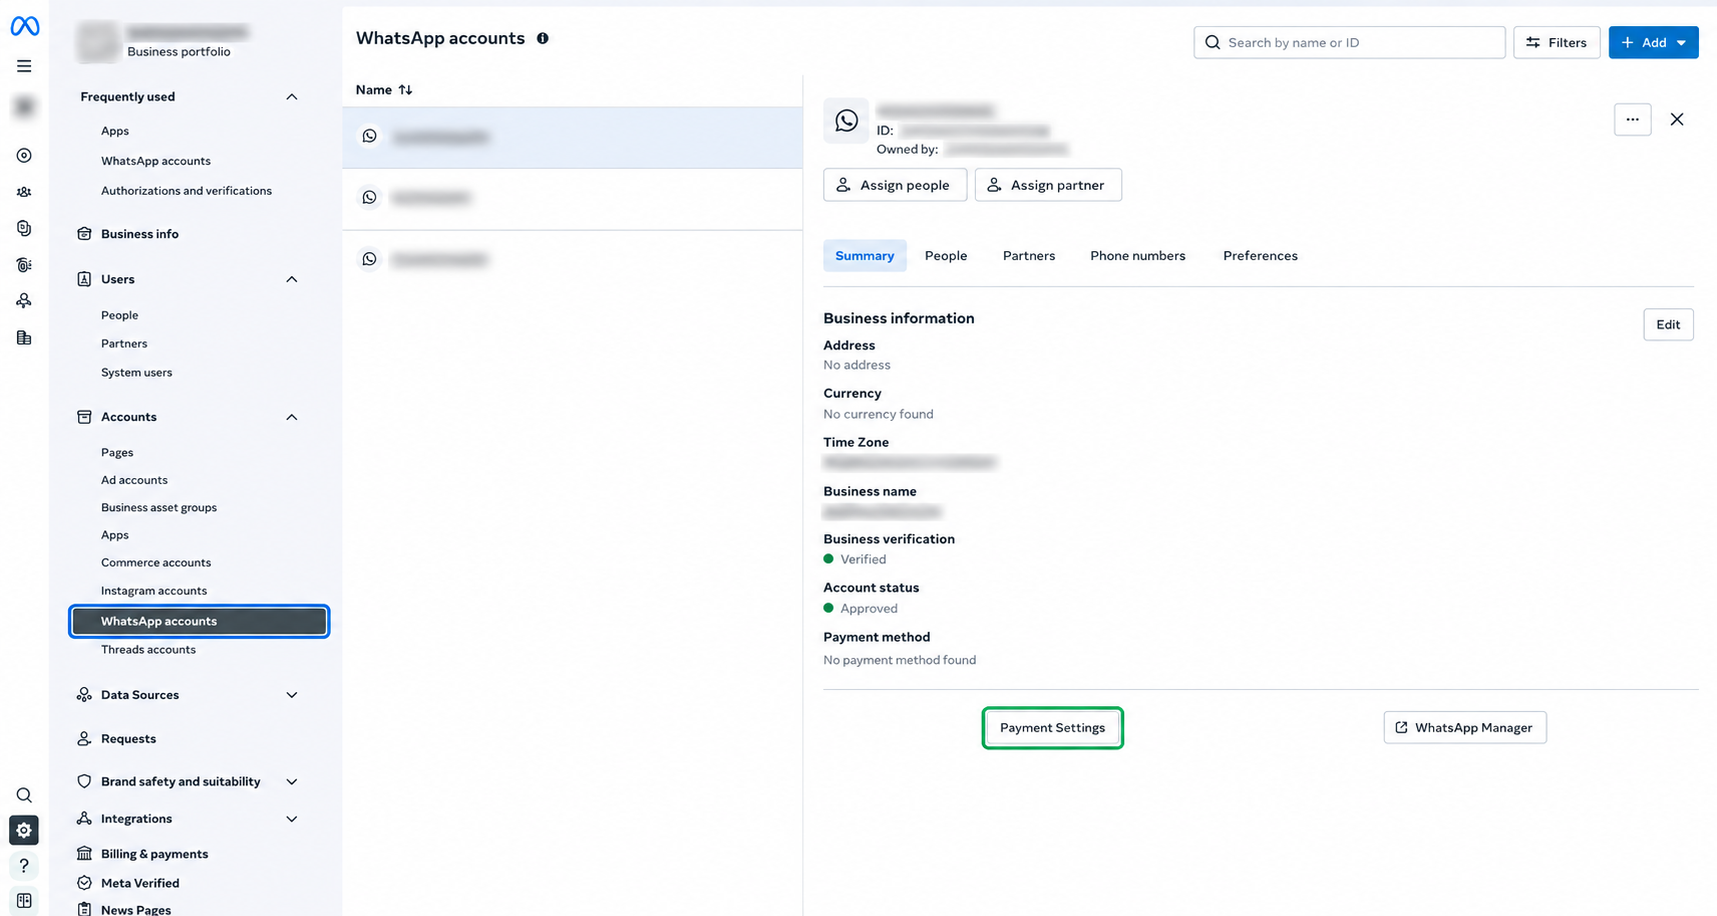
9. Open Payment Settings
Meta—not Moyafa—charges your business for billable WhatsApp template messages. Add a card to the connected WhatsApp Business Account before sending broadcasts or any other message for which Meta shows a charge. Open Meta Business Settings → Accounts → WhatsApp accounts, select the correct WhatsApp Business Account, then select «Payment Settings». A payment method may not be requested for free customer-service replies, but it is still required before paid sends. Your Moyafa subscription is separate.
- 10
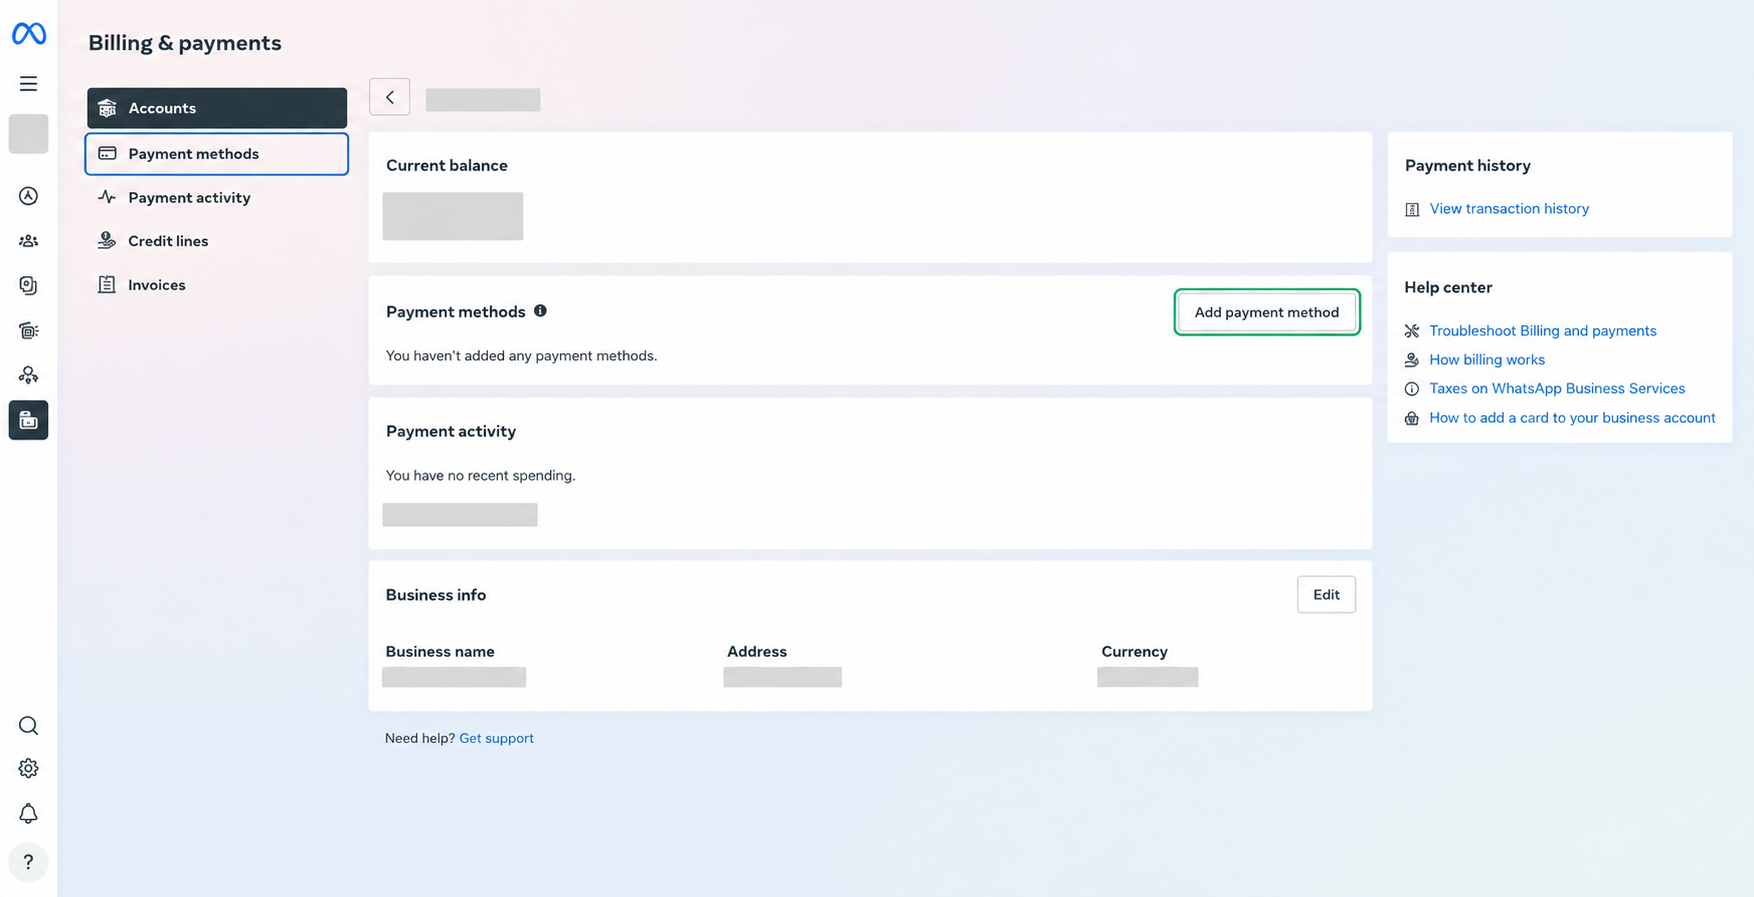
10. Select Add payment method
Meta opens Billing & payments for the selected WhatsApp account. Select «Add payment method», enter the card and billing information directly in Meta, and save it. Moyafa never sees or stores the card number or security code.
- 11
11. Send a test message
Back in Settings → WhatsApp, use the test card to message yourself. If it arrives, you're connected end to end and ready to bring conversations in.
- 12
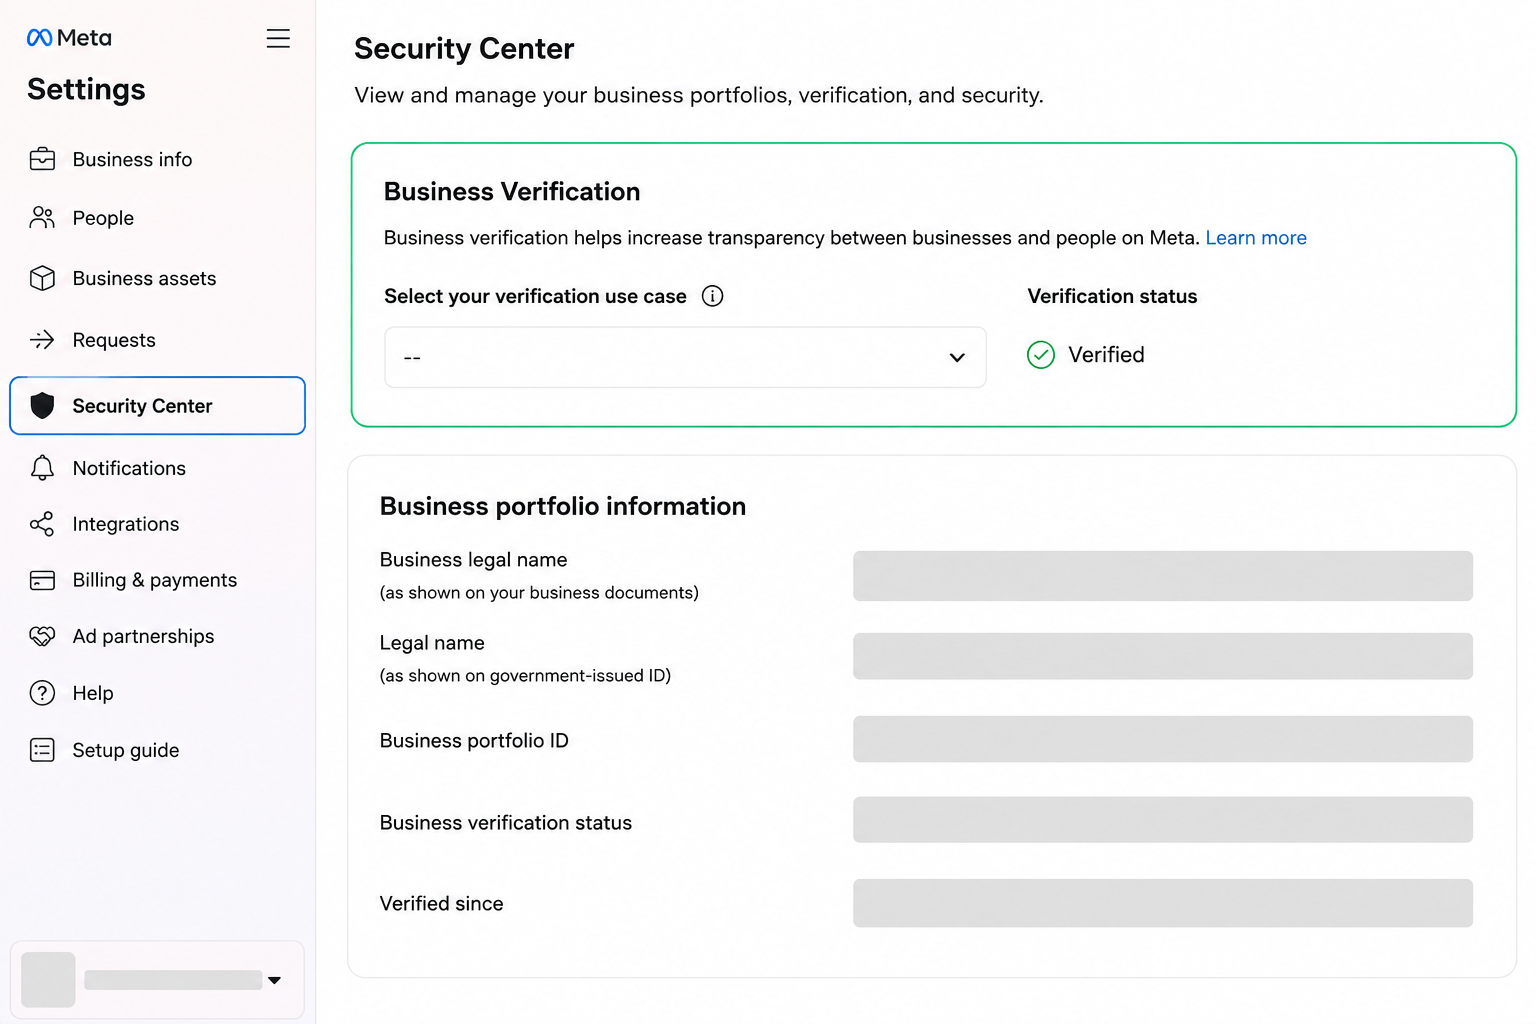
Optional at first: Meta business verification
Business verification is normally not required to connect a new number, receive customer messages, reply during the customer-service window or run an initial test. It is different from the paid Meta Verified badge. Meta assigns each account a messaging limit and may require business verification, a verified display name, good message quality and sufficient usage before higher limits or additional features become available. Check the current limit and verification status in WhatsApp Manager; Meta decides eligibility per account, so do not rely on a fixed number. When Meta asks for verification, use legal details and documents that match the business record exactly.